Bread is just one of those things that we take for granted. You buy some ridiculous metallic looking bag with some kind of a freshness seal and you think you’ve done it. You think you’ve got everything you need to make the perfect sandwich.
The real problem is, any bread you buy off the shelf is loaded with garbage that lets them leave it on the shelf longer. And you can taste that stuff. By learning to bake your own bread at home you’ll eat more delicious and healthier bread every single day.

You’ll ideally want to start this recipe the day before you need fresh bread but more on that later.
Bread Making Ingredients
This is a very basic bread recipe, so let’s keep with some of the basics.
You’re going to need water, flour, salt, sugar, and some active yeast.
How to Bake Your Own Bread
Start with a large bowl. Load it up with two cups of warm water. Slightly above room temperature is ideal.
Mix in a few pinches of sugar and stir it until the sugar dissolves. Now add an ounce of active yeast. (Yeast can easily be purchased in pre-portioned packages.) Stir until the yeast dissolves as well.
Now, in another bowl, mix two pounds of flour with a tablespoon and a half of salt.
Pour half the flour into the sweetened yeasty water mixture and stir for a while. Once it’s well blended, you can slowly add the rest of the flour. At some point you will need to begin kneading by hand.
Now, you will need to continue kneading the dough until the whole thing is smooth. This can often take a while, but it’s very important that your dough isn’t too sticky. If kneading is taking forever, you can add a bit more flour. But once you do, keep kneading.
Once it’s “just right,” roll the dough into a smooth ball and coat it very lightly with flour. Place the ball of dough into a bowl greased with either your favorite cooking oil or butter.
Cover your bowl (with a dry towel or something similar) and just leave it out for a long time. You can place it in your oven (turned off!) or on the fridge – regardless, ensure you leave it out at room temperature.
Letting Your Bread Rise
This is where starting the day before comes in handy. At this point, the bread needs to be left to rise, which takes anywhere from ninety minutes to three hours depending on the humidity and temperature of your home. The upside, though, is that it’s very hard to let dough rise “too long.”Just leave it out overnight, for simplicity’s sake.
Once you’ve left the dough to rise, you’ll want to knead it again to remove the air bubbles and ensure a consistent texture throughout.
Now, separate the dough into whatever shaped loaf you want. The easiest option here is using a loaf pan, or several. This is actually quite a lot of dough you’re making.
If you’re using a loaf pan, you’ll want to let the bread rise again, covered with a dry towel, for somewhere around thirty minutes. So sit down a moment, or check out our twitter feed or facebook page.
About twenty minutes into the wait, start pre-heating your oven to 375 degrees.
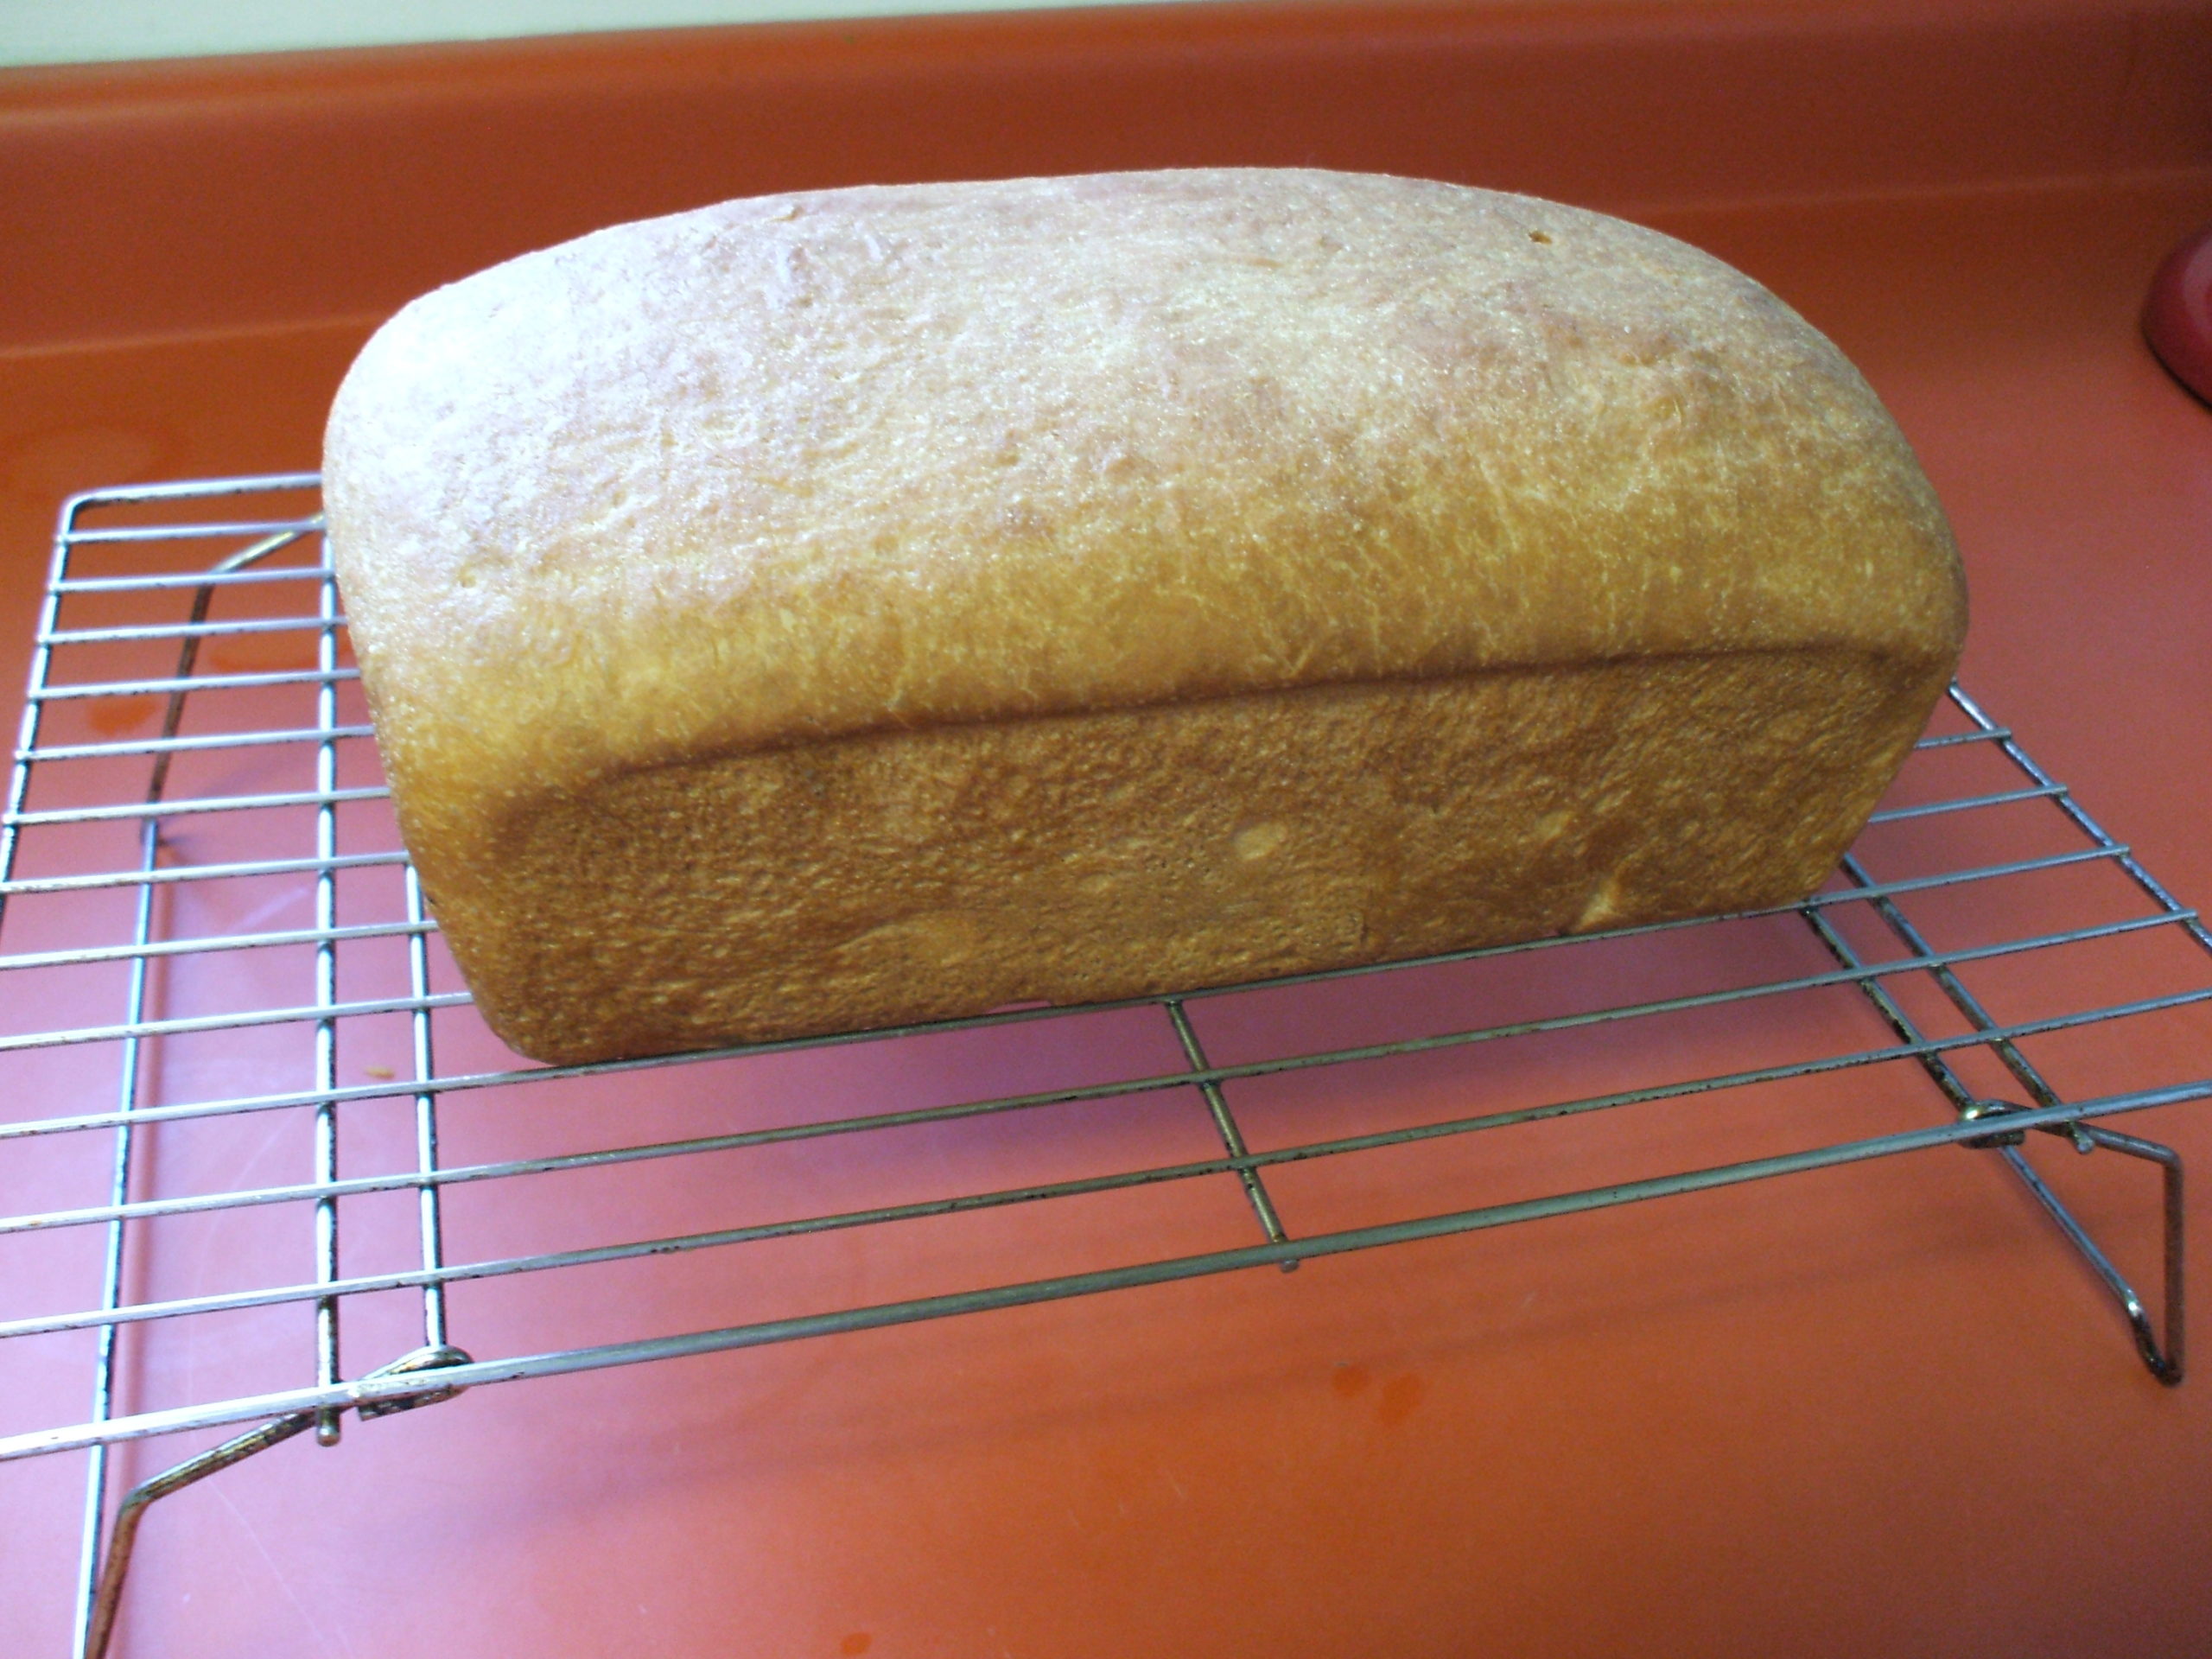
Depending on the size of your loaf, the cooking process can take anywhere from ten to thirty minutes. But you’ll know it’s done when the crust is a golden brown color. If you’re more of a perfectionist, you can use a food thermometer to test the middle, which should be somewhere around 210 degrees Fahrenheit.
Breadmaking Tips
- The reason you made so much dough is that homemade bread only lasts about a day before spoiling. This is the downside to the lack of preservatives and other nonsense. Put the remaining dough back into your greased bowl for tomorrow.
- Make a sandwich and marvel over how much more delicious your homemade bread is than the store-bought kind.
- Start a rotation, making the dough every two days (or longer, if you don’t eat a lot of bread) and have cheaper more delicious bread every single day.
- Brag about your homemade bread – all the time.